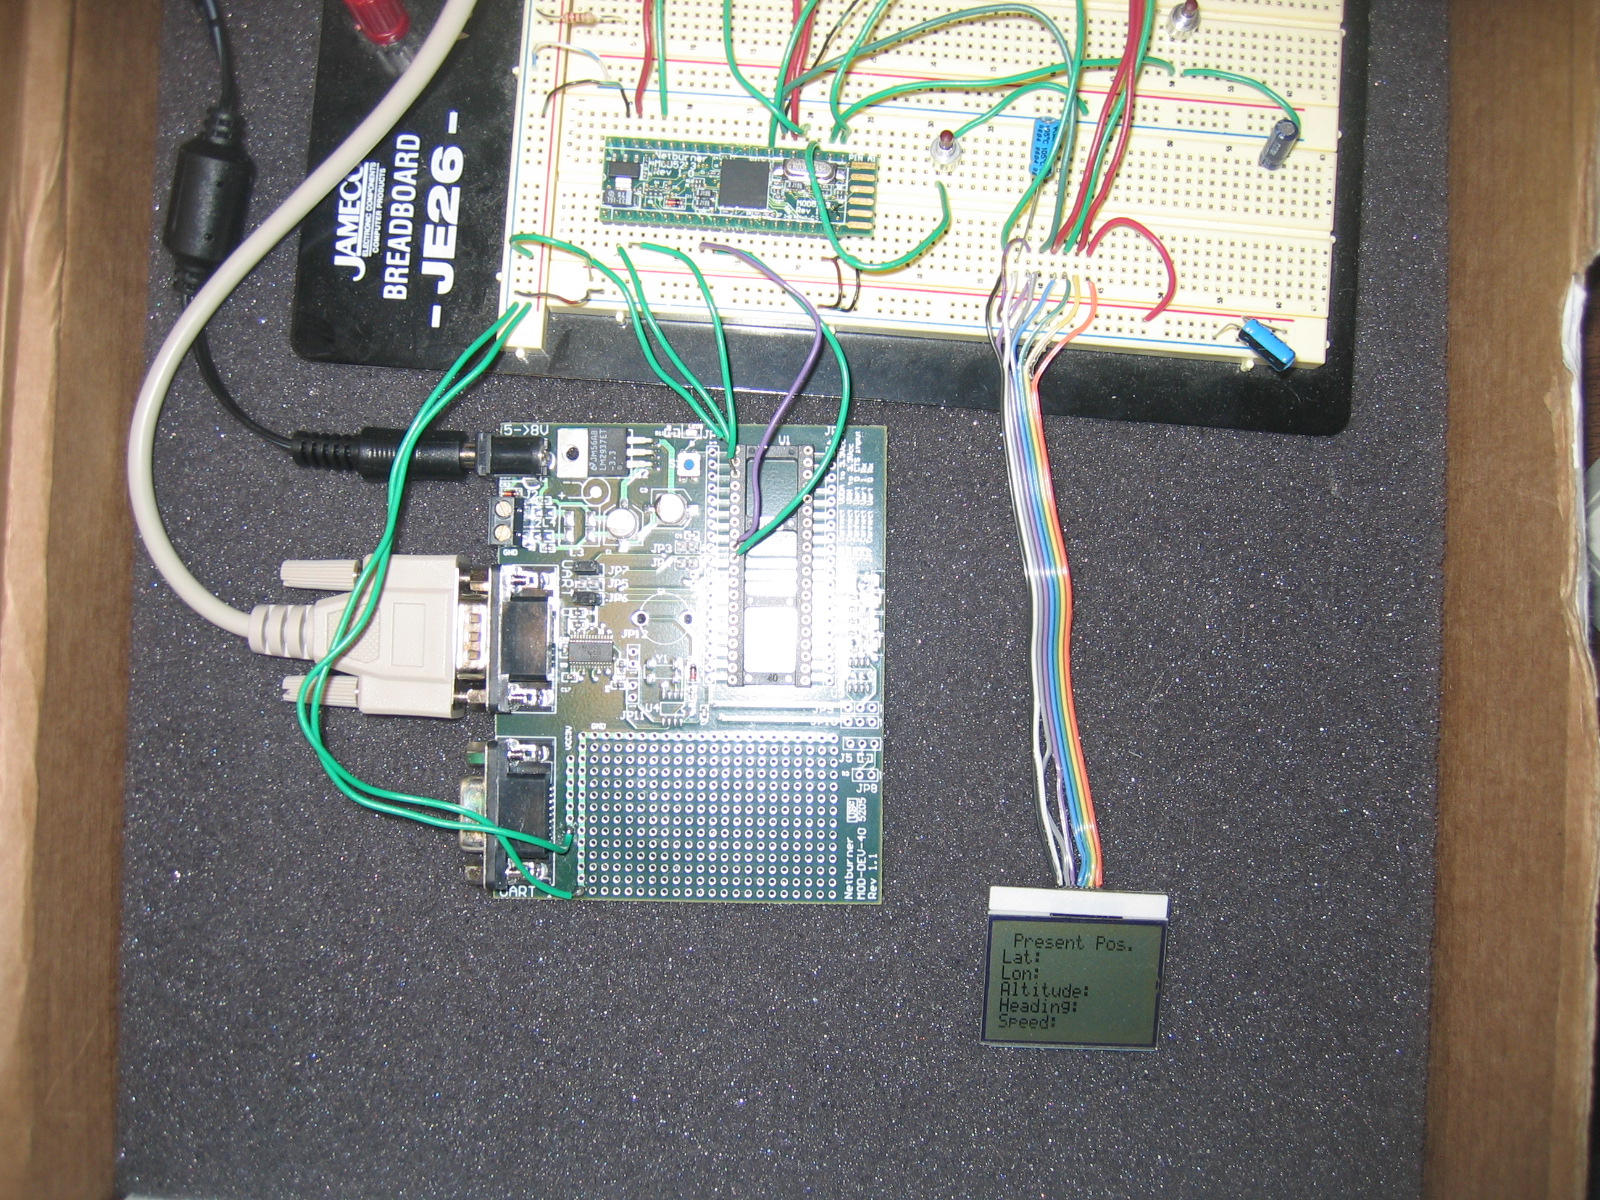
- Present Position
- Remote Unit Position
- Graphics Showing Relative Positions of each unit
- Message Sending
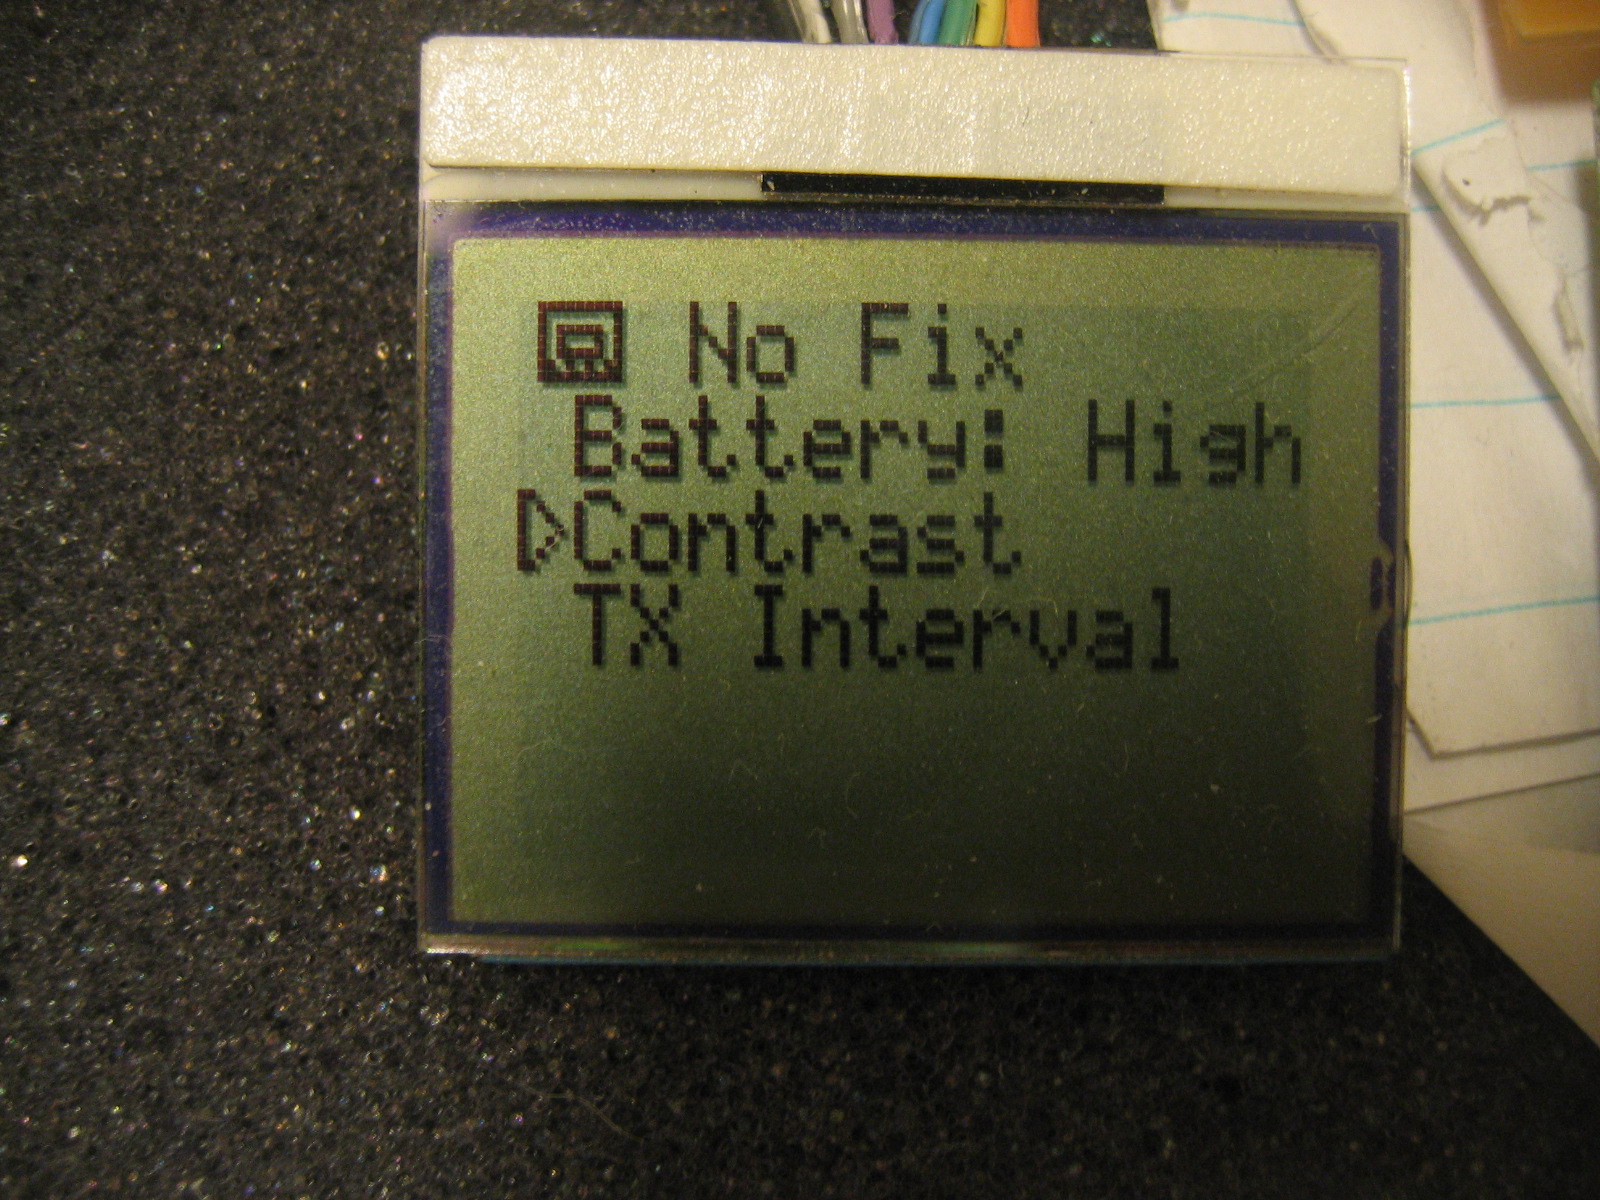
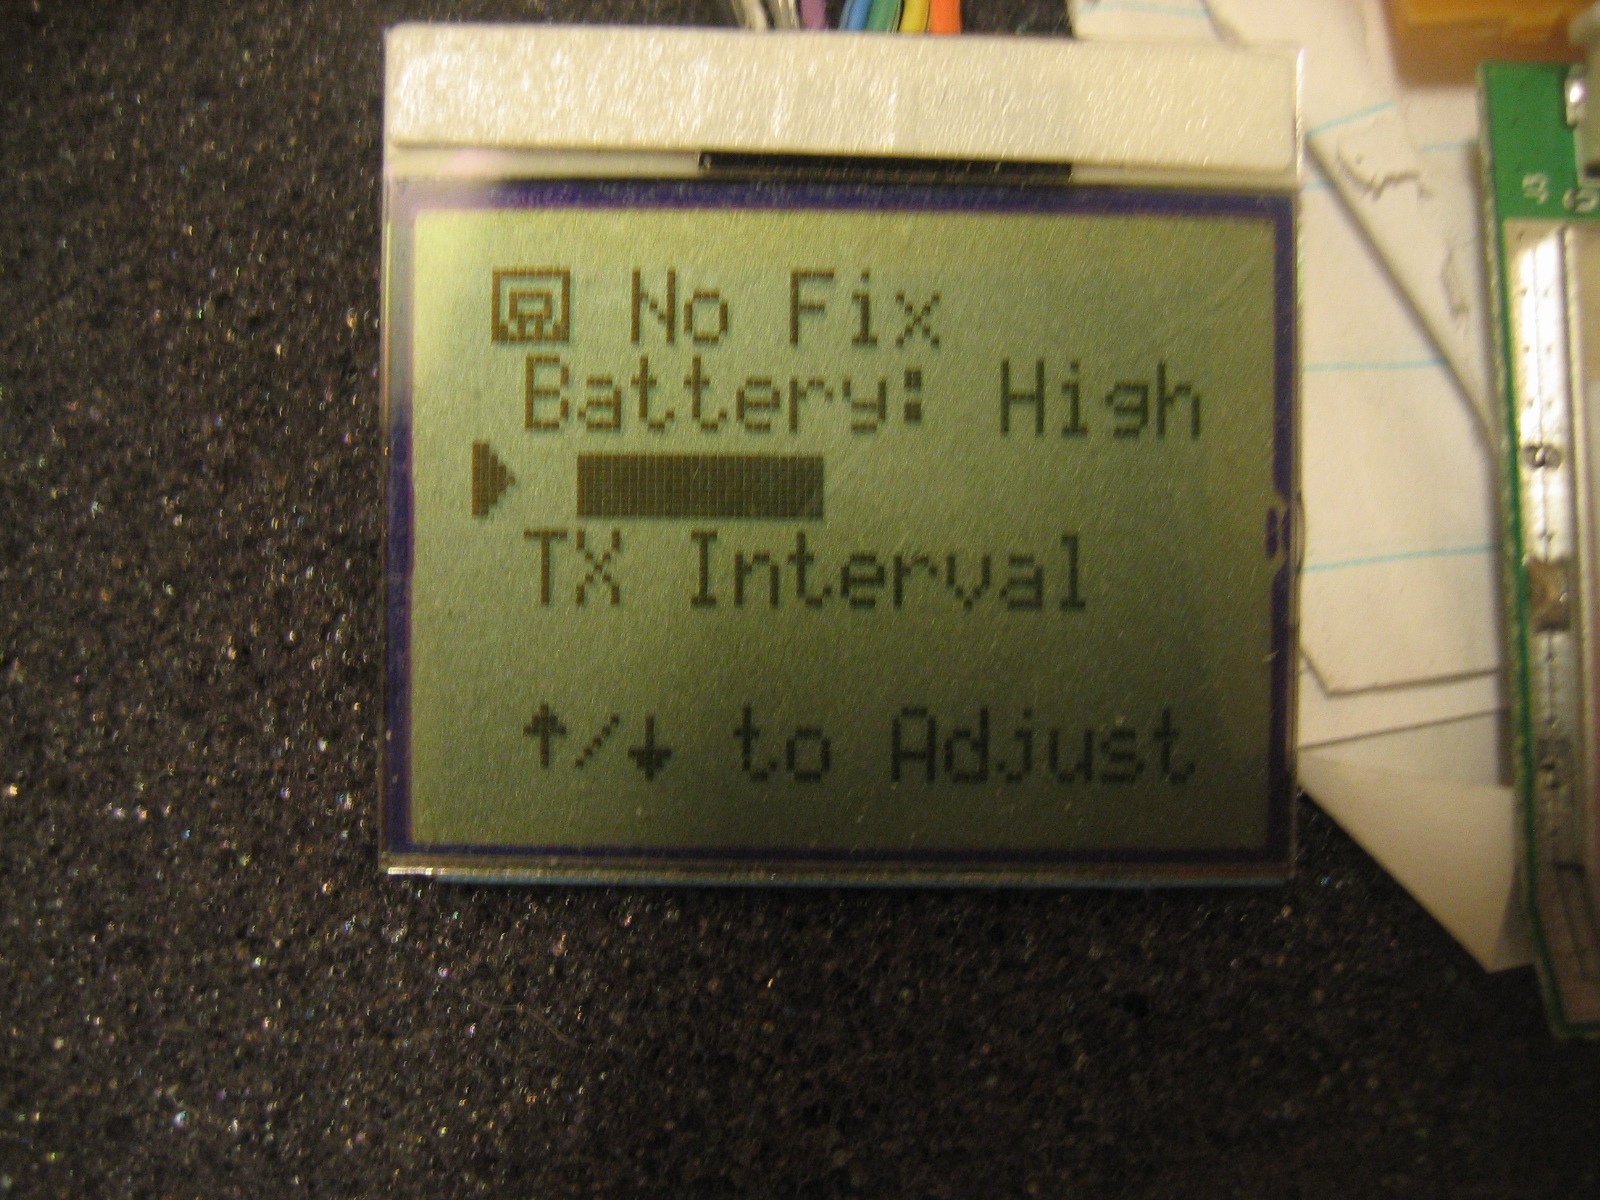
- Device Settings
| <==Back | Next==> |
| Nov 13, 2006 | |

|
|
So Jon completed the main code for interfacing to the LCD and writing characters and
strings. All is looking pretty good even though we have about 2 weeks to get this thing
ready for demonstration. The pic above is showing the main page that will display
present position. Using two push buttons (on breadboard) the user can navigate
through different pages (screens):
|
| Nov 21, 2006 |
| Lots of additional code has been written to integrate all the devices towards the final product. I'd say that the code is about 90% done. This info will be posted in the next few days. I gots way too much studying to do right now.... X |
| Nov 25, 2006 | |
|
|
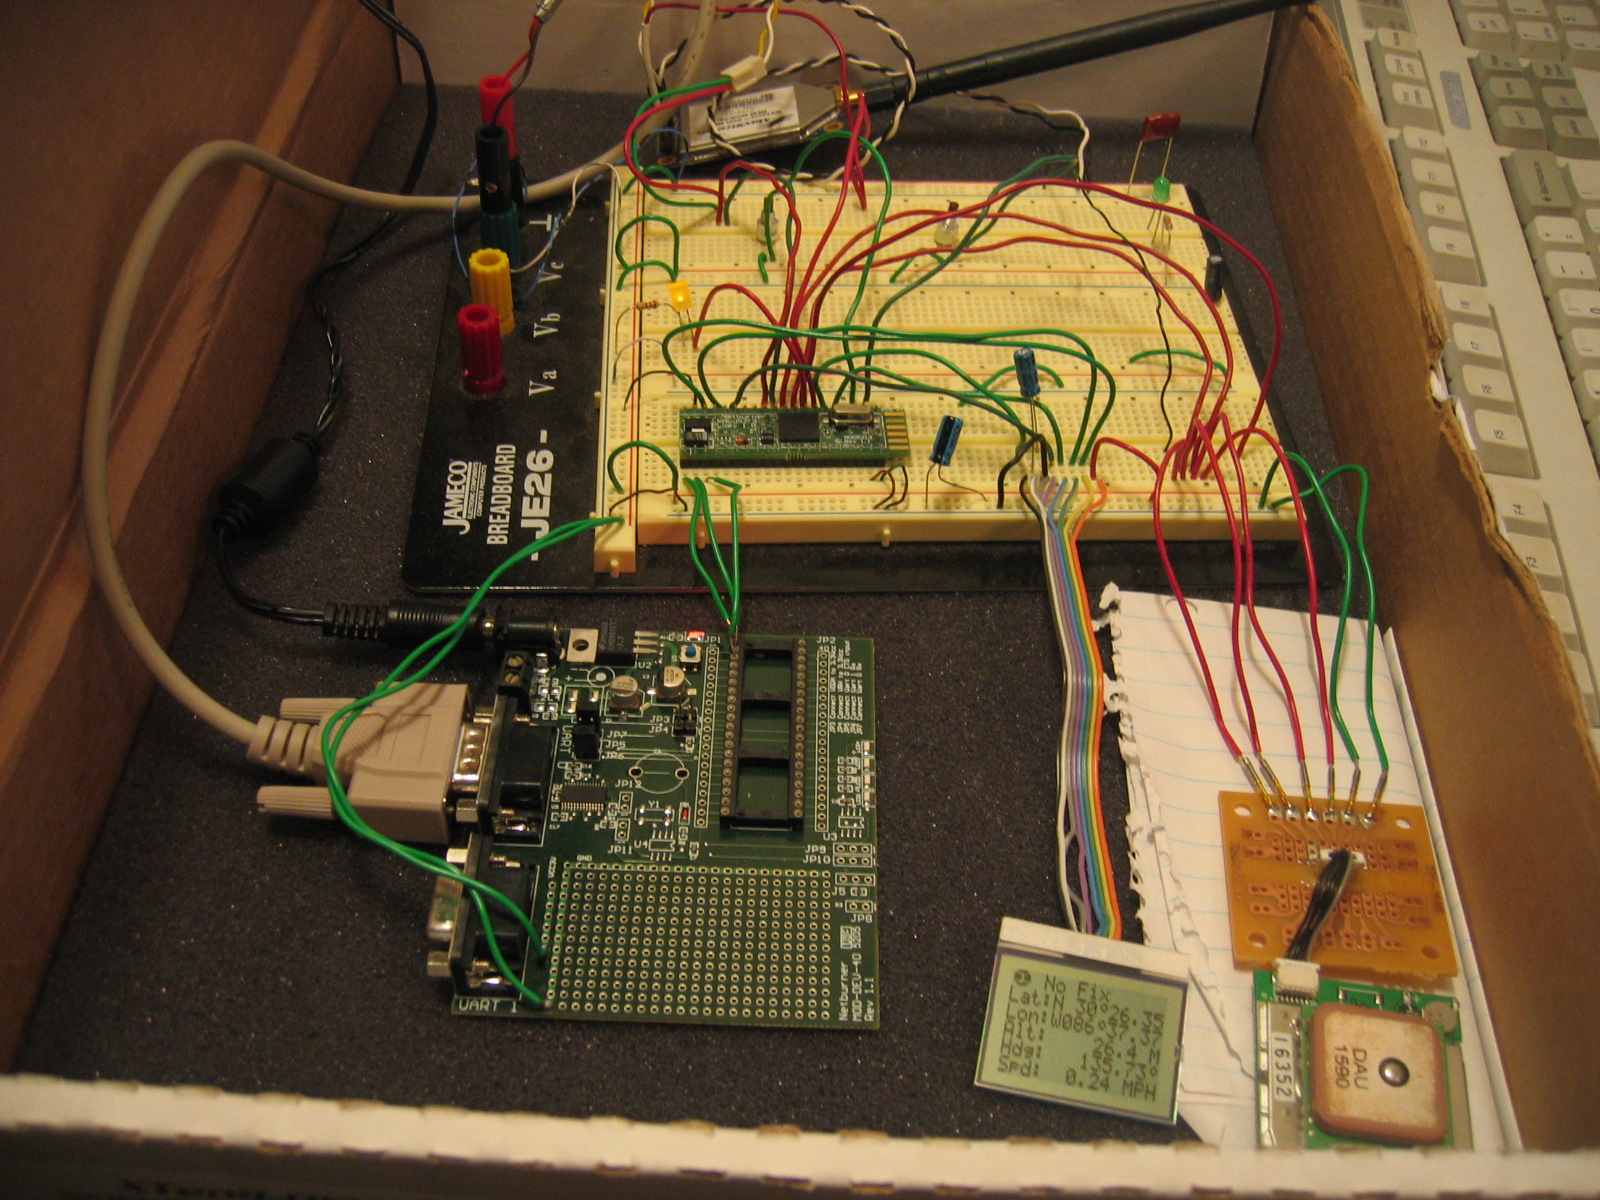
| Well the software is pretty much done. Aside from a few additional small things, the tracking device
is ready to be built. Jon found some Radio Shack cases that we'll use to package the components and board.
We got a preliminary final presentation to give on Thursday (Nov 30) so we may be demonstrating with our
in-cardboard-box prototype pictured above. Actually we'll need to assemble 2 prototypes, so I
need to find another nice cardboard box. Not much time. Hopefully we'll finalize our component
layout to a schematic on Monday, get it drawn up and sent out to be etched. If we can get the etched PCB
boards soon, we'll be able to assemble this thing and have a final product. Now for the cool LCD screens... I added specialized icons and additional routines to the LCD module. It wasn't exactly easy to get the DrawPixel at (x,y) routine working. Basically the LCD has a 48x84 pixel display buffer (RAM). Addressing where you want to draw pixels involves specifiying a horizontal position (value = 0 to 83) and a vertical bank. There are 6 vertical banks consisting of 8 bits each. So when you set an address, you send a byte of data, and all 1's represent a black (on) pixel, while 0's represent a white (off) pixel. So if you want to just draw one pixel at a specific x,y location, you have to keep a running buffer of what's on the display at all times and do some bit-masking to put that pixel where you want it, and not overwrite any other pixels. Lots of work, but I think this LCD software module will come in handy for other projects that use this display. I added a status bar at the top of each screen to ID the current page as well as provide some always available position fix info. Also, if a message is received, a little envelope icon will automatically appear in the top right corner as a flag. Kinda like when your cell phone receives a text message. We're talkin some hi-tEcH stufF here!! |
|
|
|
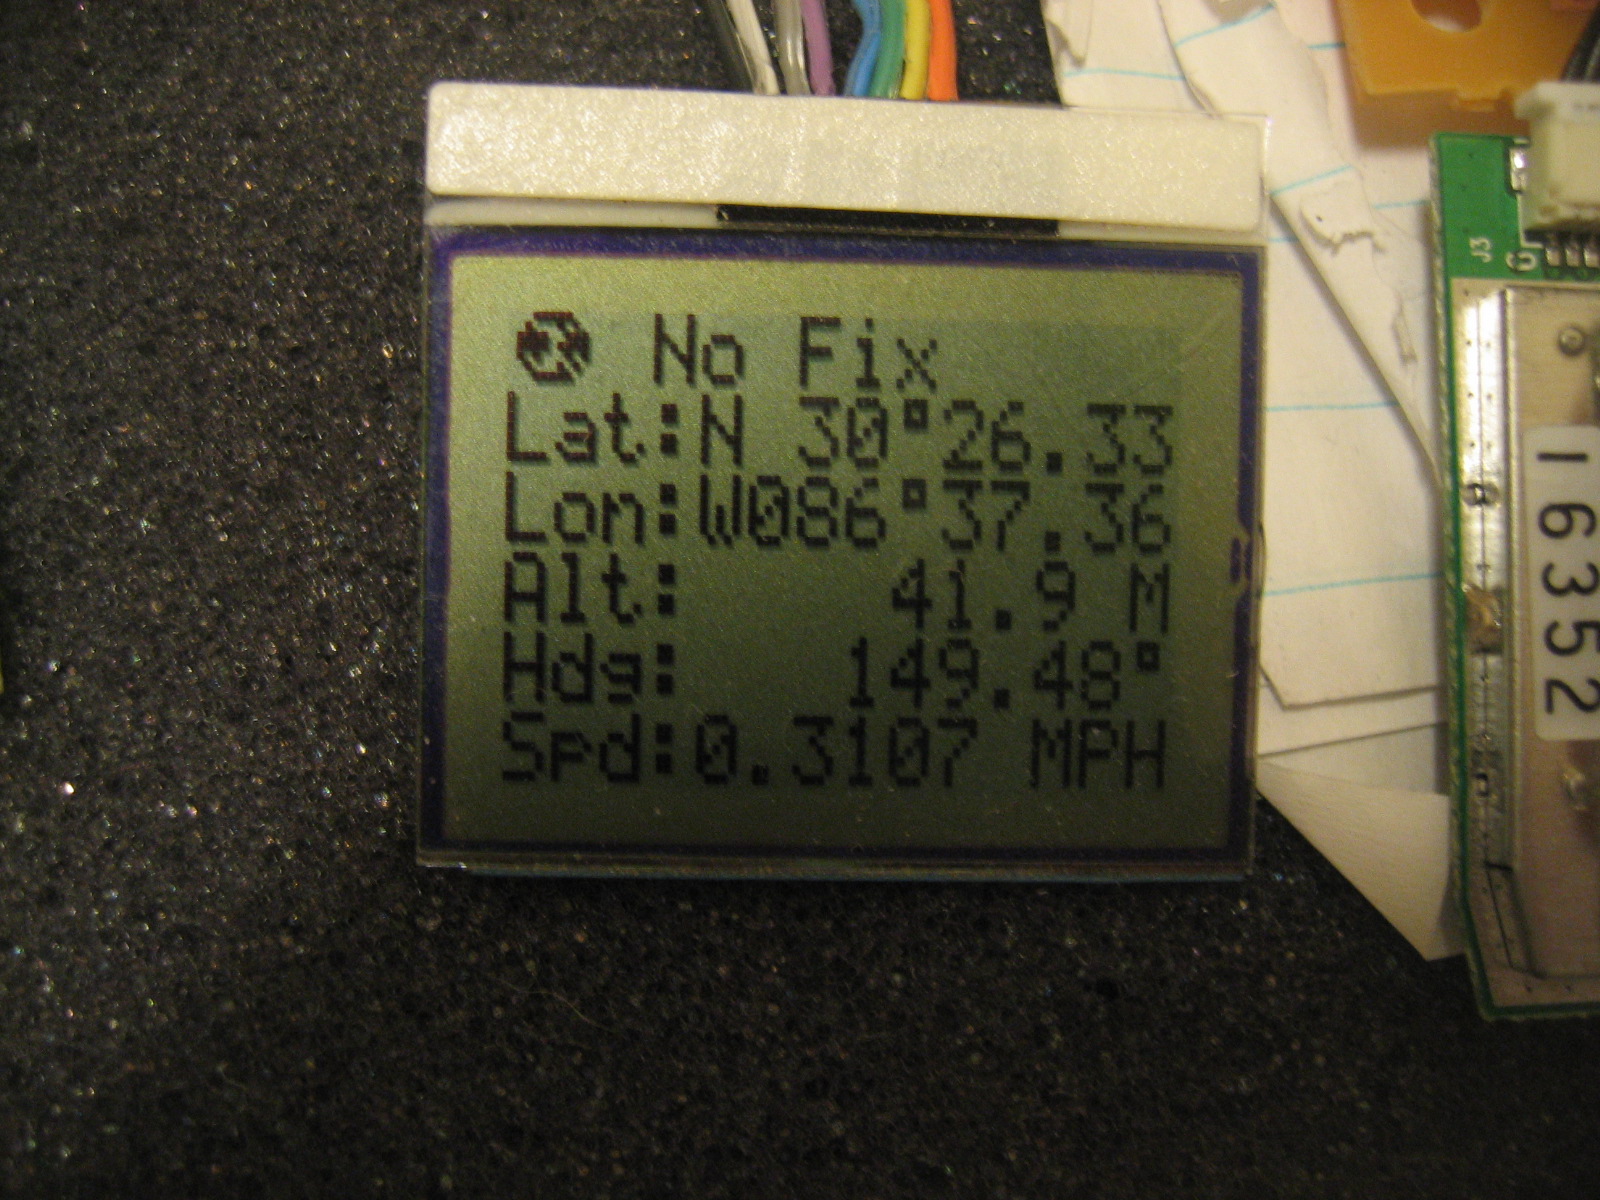
| Present position page. | |
|
|
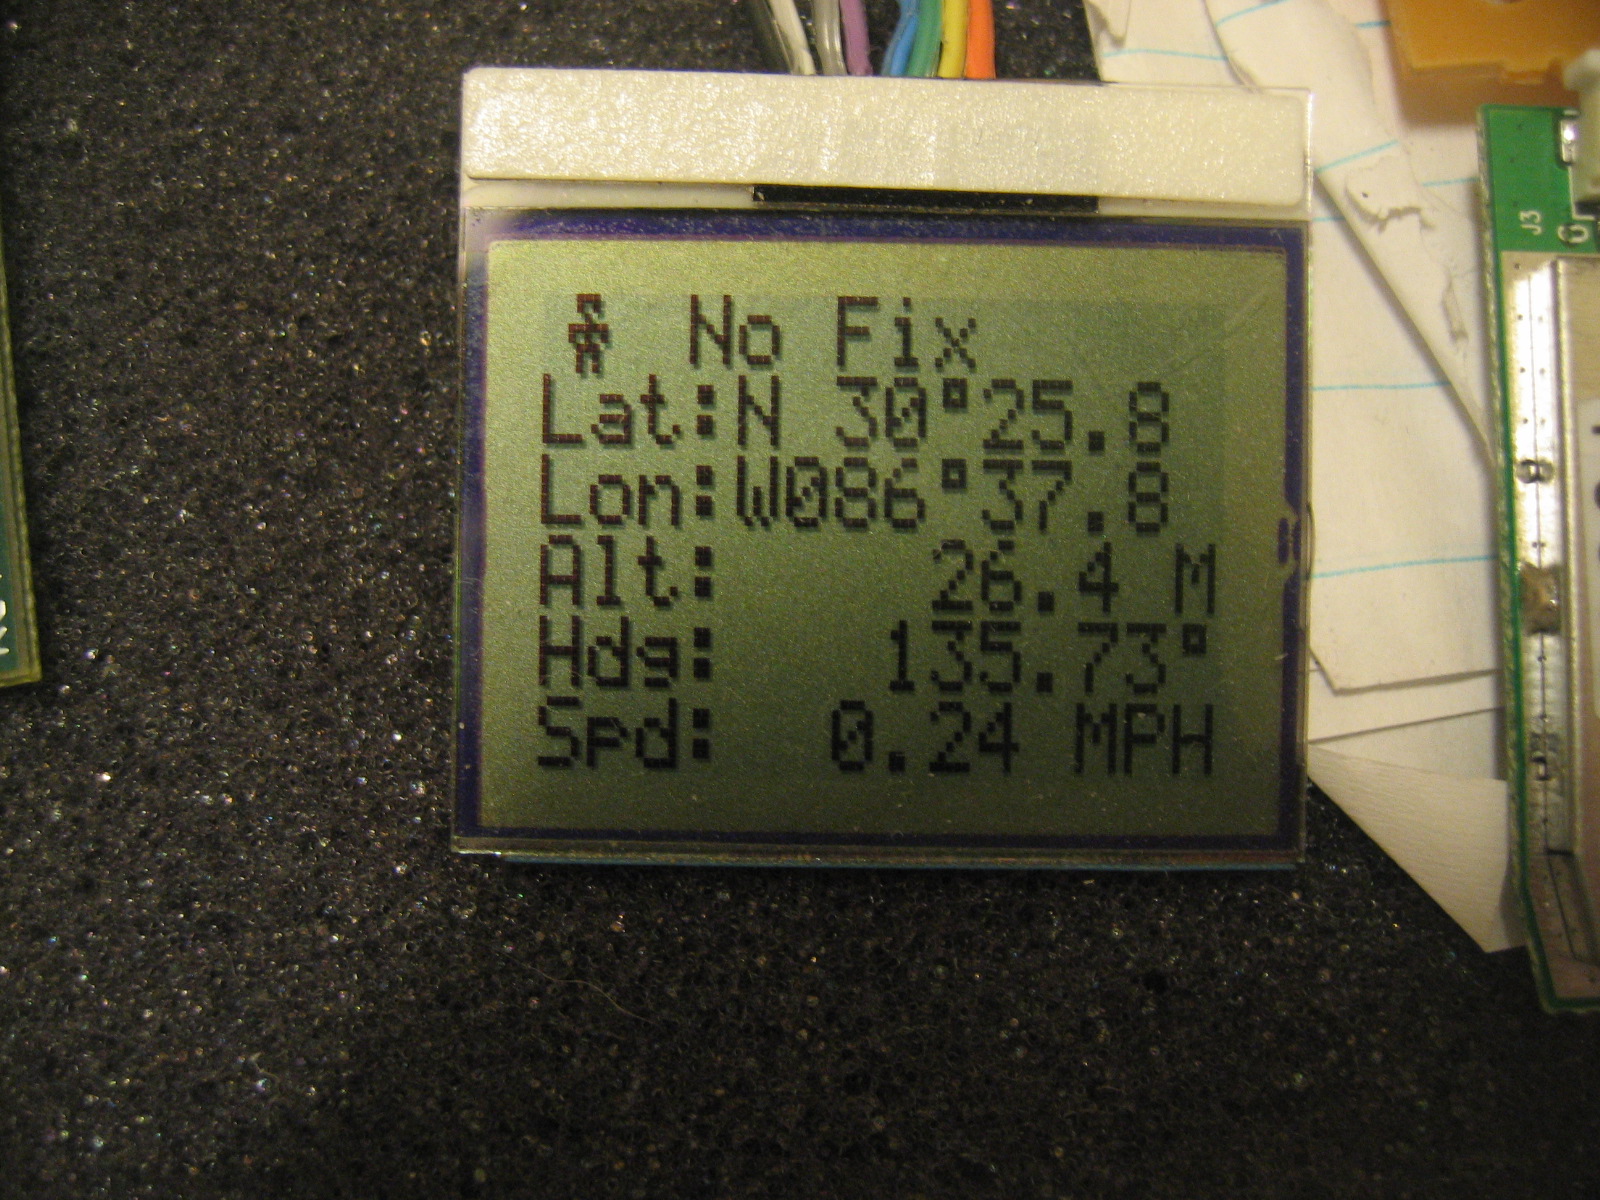
| Remote position page. | |
|
|
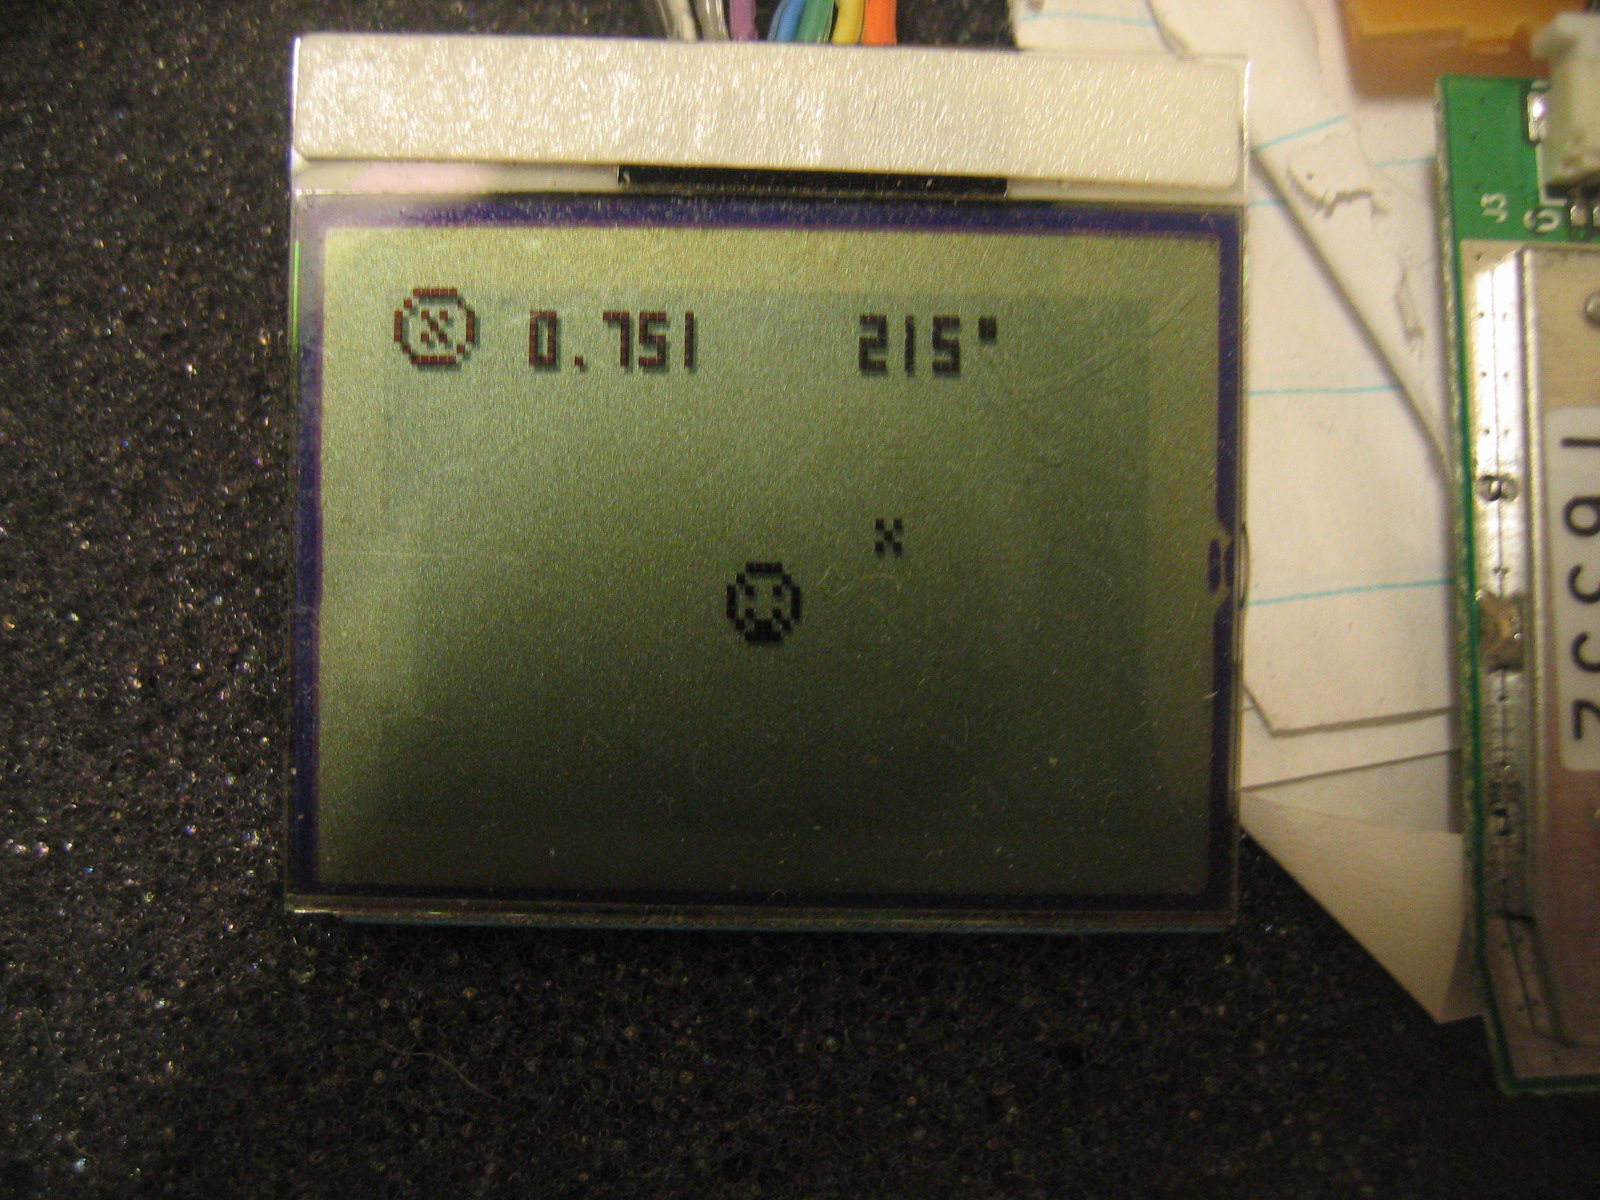
| Graphical tracking page. This page lets you see where the other dude is. Your position is the happy face is the center and the remote unit is the little "x" in the void. Up represents your heading, so that way you can easy figure where the other unit is relative to your current position. The numbers in the status bar are the range and bearing of the remote unit. The range is in miles and the bearing in degrees referenced from true north. I'm pretty sure this is all working, but it must be truly tested outdoors since the heading value given from the GPS is a bit erratic. Well you can't expect a good heading estimate sitting still here on my desk. An upgrade will definately need a digital compass to provide this info for better accuracy. | |

|
|
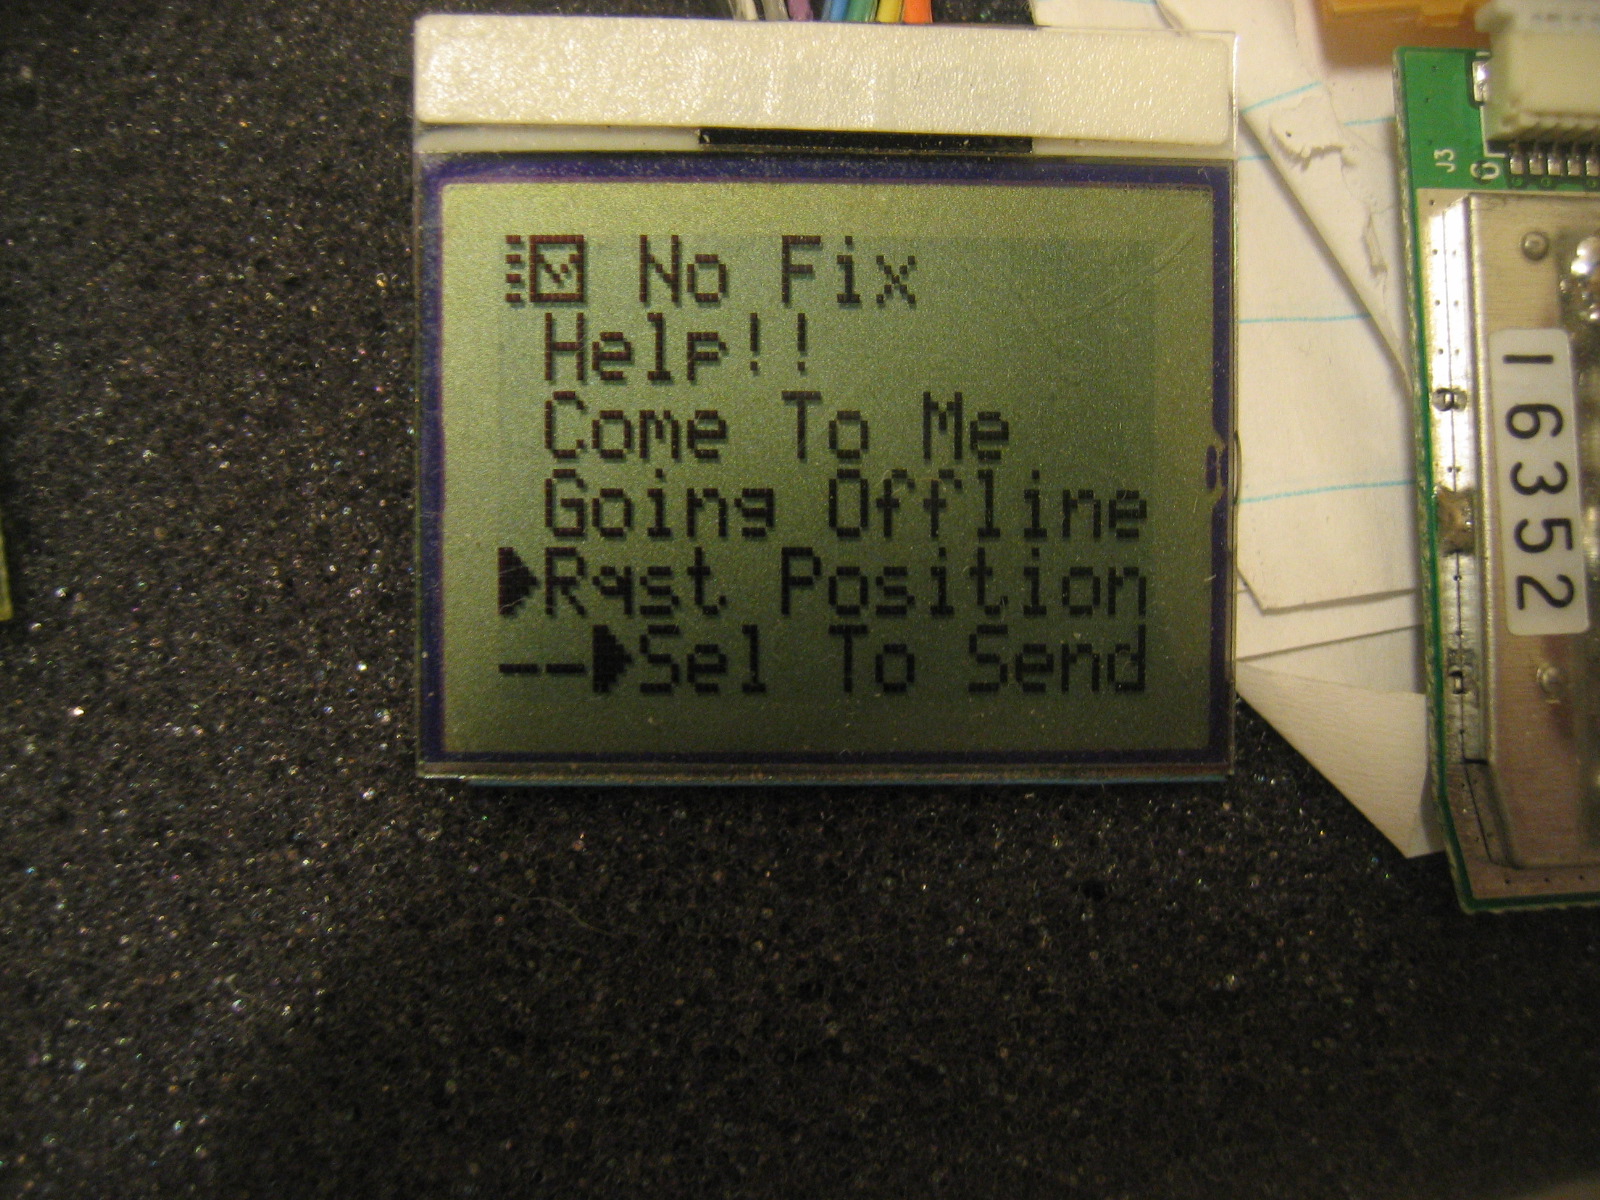
| Message sending page. These are just predefined messages. There is only 4 buttons in our design: UP, DOWN, SELECT, and SEND - so this had to be kept simple. Basically just select your message and then push to send! | |
|
|
| Sending a message... | |
|
|
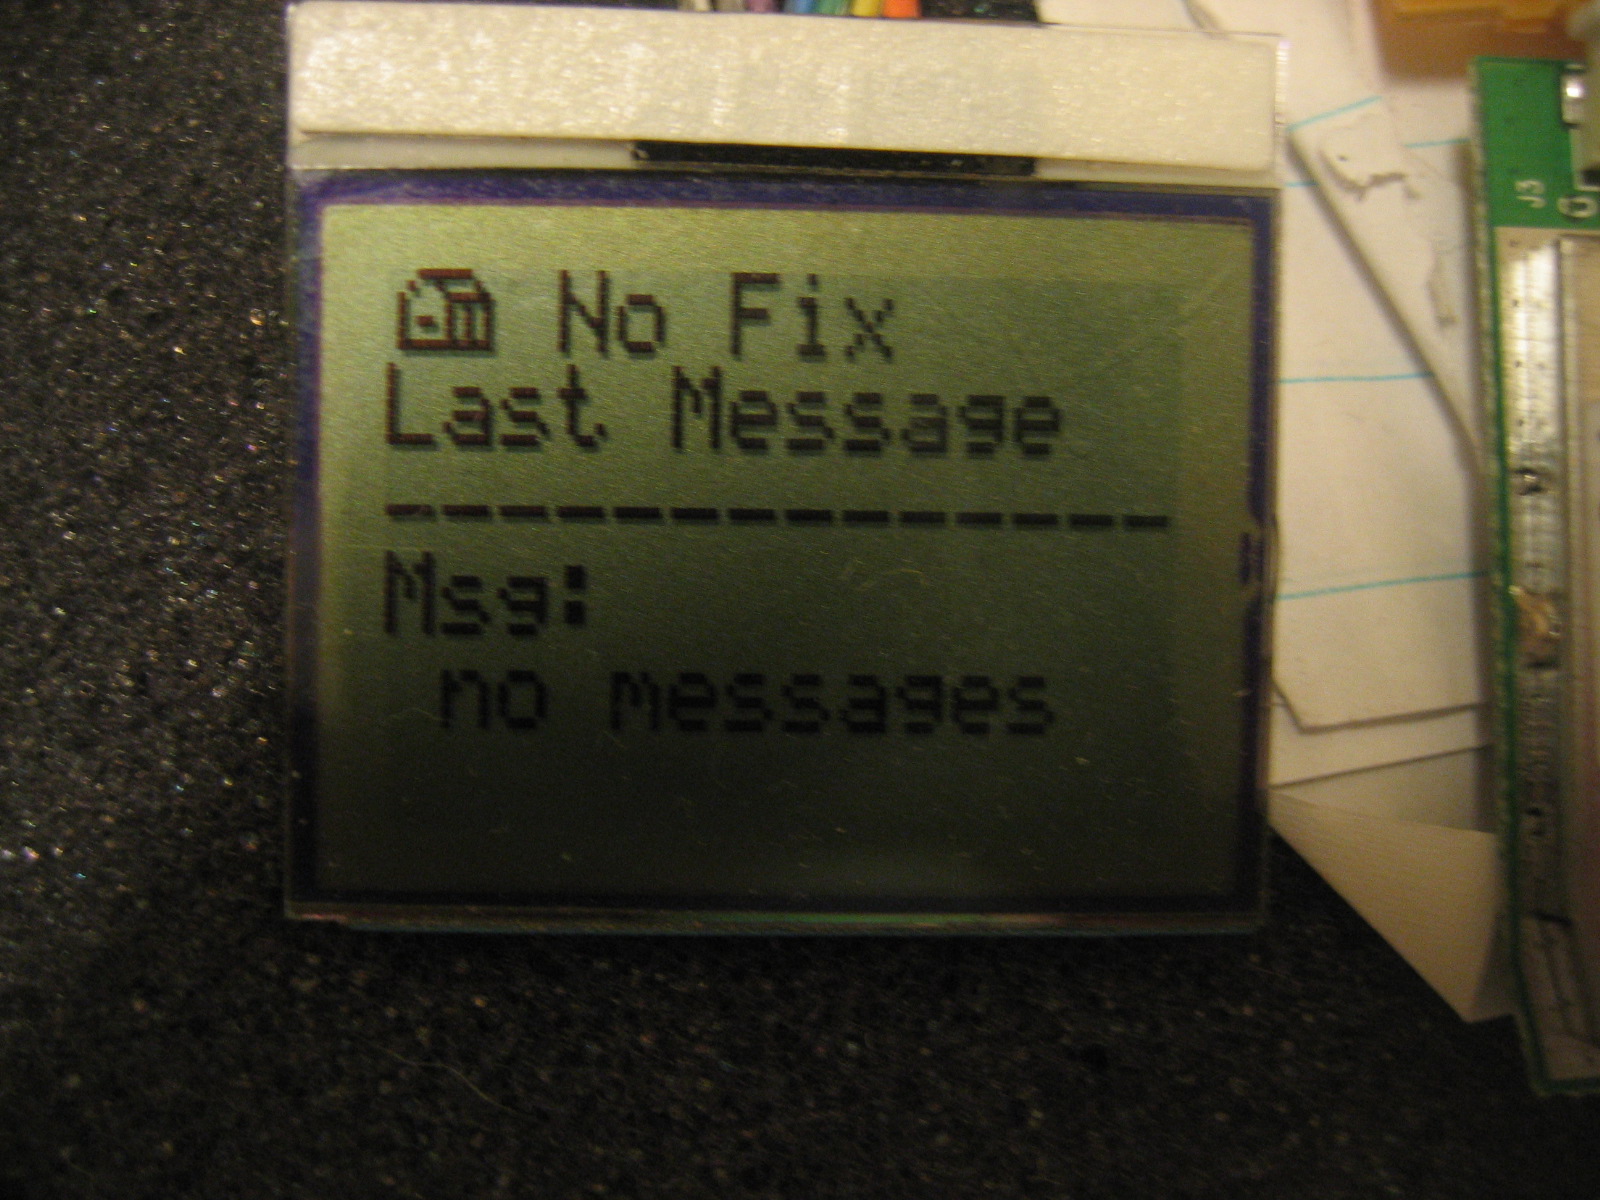
| Messages received page. This is the inbox for received messages. Note the mailbox icon :) It's not really like a real inbox since it only holds one message at a time. But hey, we can only do so much in 3 months while taking 2 other classes and working full-time. Later I'll add the ability to queue up received messages. | |
|
|
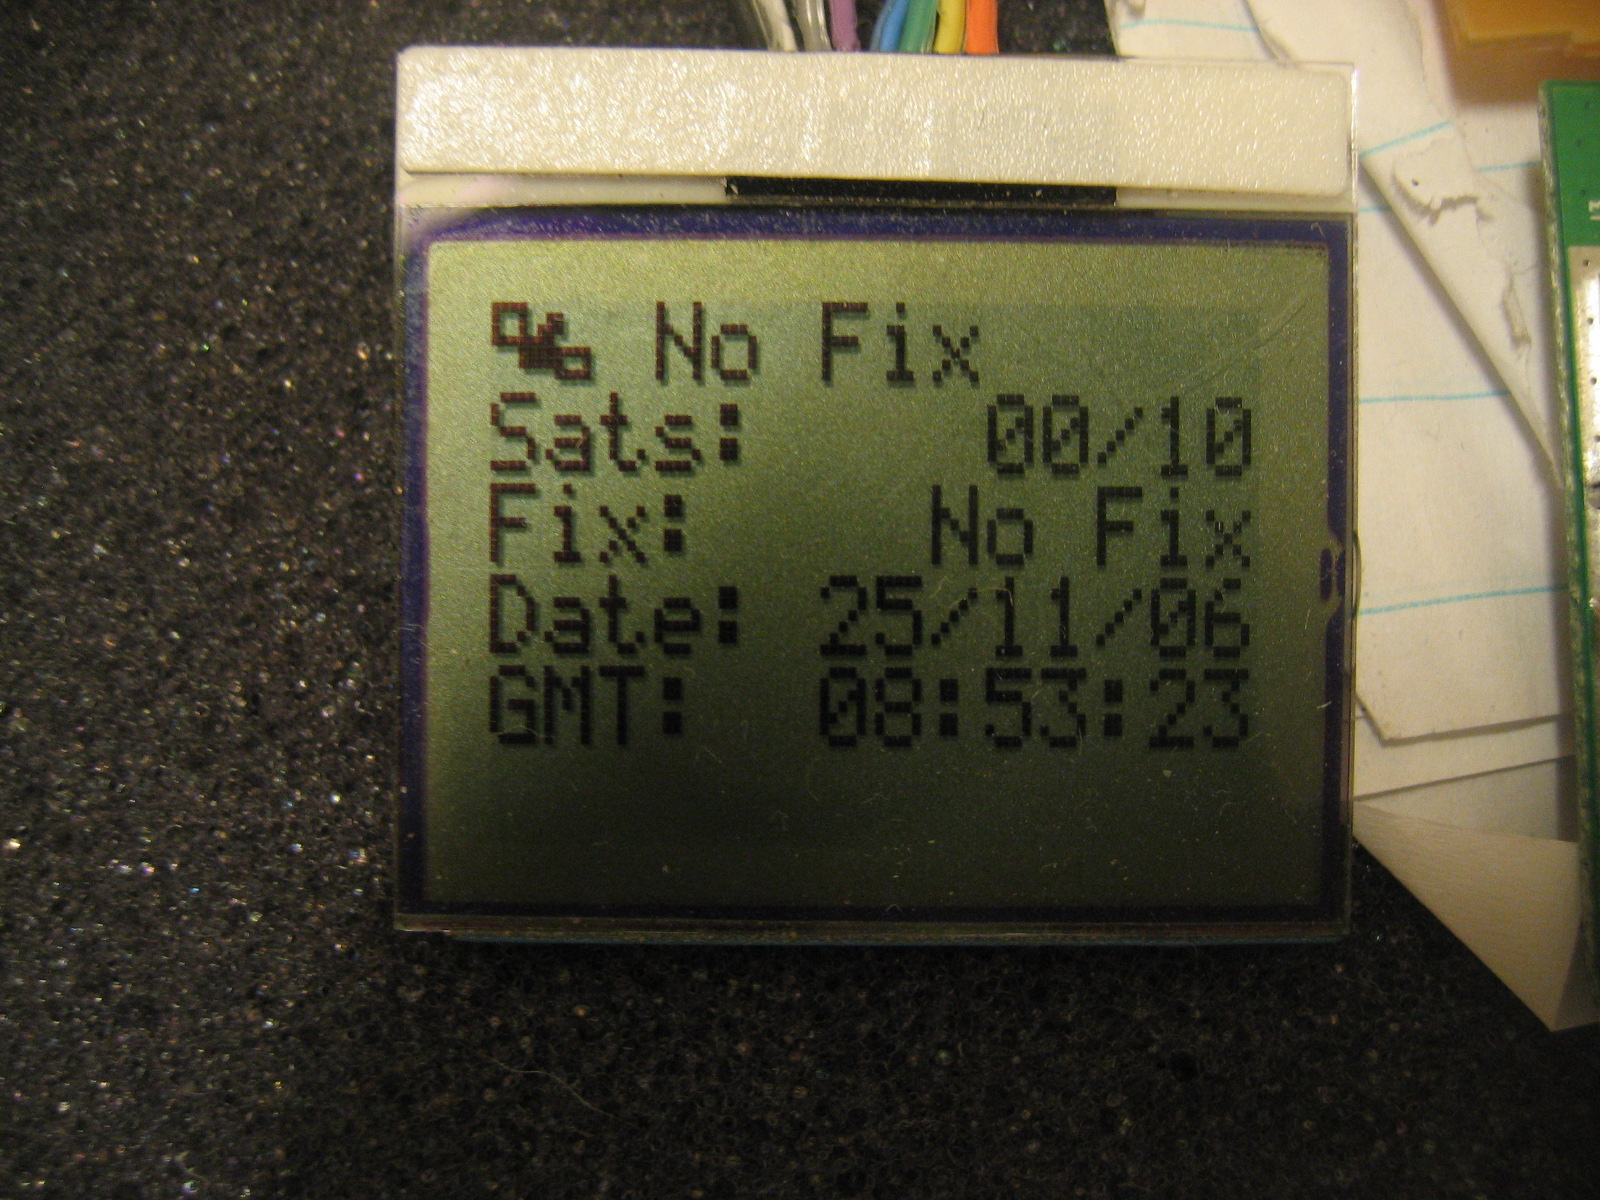
| GPS status page. Here you can see how many satellites are currently used in the position fix/how many are in view, the type of fix, and GMT date and time. That icon is supposed to be a satellite, not a fly. | |
|
|
| LCD settings page. The battery setting is not used. Kinda just sits there and always tells you the batteries are good :) Not a biggy for this senior design thing though. I'll get that later with some A/D logic perhaps. | |
|
|
| Adjusting the contrast. | |
| <==Back | Next==> |